
Water heater leaking: what to check before you call a plumber
Find where the water is coming from (top, side, drain valve or base), fix the few things that are safe to fix, and know when the job belongs to a licensed pro.
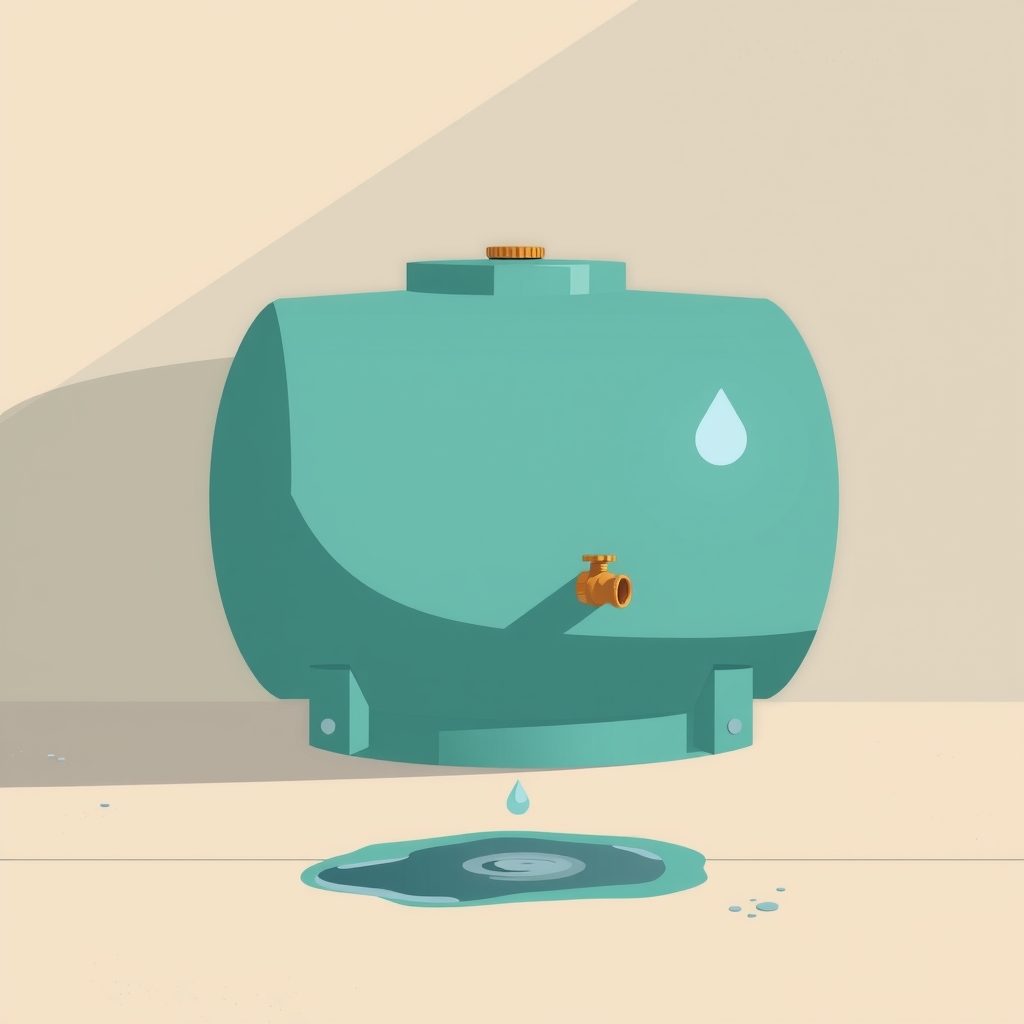
Water on the floor around a water heater can mean something minor, like a loose fitting or ordinary condensation, or something final, like a failed tank. Where the water shows up tells you a lot. This guide walks through the location clues, the checks a homeowner can safely do, and the point where a licensed pro should take over. The advice comes from the manufacturer's own help pages and from federal safety agencies, linked as we go.
What's going on
A puddle has several possible sources. The manufacturer's technical bulletin lists condensation, the drain valve, the T&P (temperature and pressure relief) valve, piping, the gas valve, element gaskets and the tank itself as causes of floor puddles. The bulletin on floor puddles is worth a read if you want the full list.
The location of the leak narrows it down. According to the manufacturer's leak guide, a leak at the top points to pipe fittings and connections, which sometimes can be tightened. Side leaks often start at the T&P relief valve, usually because of excess temperature or pressure. A leak at the base often signals a serious problem such as a corroded tank, and replacement is usually the practical answer.
Two causes are less alarming. Condensation should stop once the water inside is warmer than 110°F, and a gas heater can produce normal condensation the first time it is lit, which goes away at operating temperature. Too much water pressure can also cause leaks, and the manufacturer says a pressure-reducing valve or an expansion tank can fix that.
What you can safely check or fix
Stay with the visible, low-risk checks below. They involve no gas lines, no wiring and no work on the relief valve.
- Turn off the power to the heater at its switch or breaker, or turn off the gas at the heater's gas control. The manufacturer says to do this before inspecting. Do not touch gas piping or the gas valve itself.
- Close the cold water supply valve to the heater. Maintenance guidance starts with power and water off, with gloves and goggles on.
- Dry the floor and the outside of the heater with a towel so any new water is easy to spot.
- Look at the top. Check the pipe connections for drips or wet threads.
- If a water fitting is loose, snug it gently. Over-tightening can damage the fitting and make the leak worse.
- Look at the drain valve near the bottom. If it drips, try closing it by its handwheel. If the handwheel can't stop it, the valve should be replaced.
- Look at the T&P valve and its discharge pipe on the side or top. Note whether it is dripping, but leave the valve alone.
- Think about condensation. If the heater is new, was just lit or has been running cold, wipe the area and watch whether the water stops once the tank warms.
- Check the temperature setting. The U.S. Department of Energy recommends 120°F to save energy and avoid scalding, and the CPSC says 120°F or lower prevents burns.
- Dry everything again and watch for new water before you decide your next move.
Where to stop and call a pro
Some leaks mean the heater is done, and some involve parts that guard against danger. Stop at these points.
Stop here: a leak at the base or tank, any leak from the T&P valve, or any leak at a gas valve or gas connection needs a licensed pro.
Once a tank leak is confirmed, the tank itself has to be replaced, and a leak at the tank spud is welded and not repairable. Corrosion from hard water minerals can't be repaired either. Depending on type, these heaters typically last 8 to 20 years, and for an old unit the manufacturer says replacing is usually cheaper over time than repairing.
The T&P valve deserves extra caution. The manufacturer warns that if this valve fails, the tank can over-pressurize and explode. Replacing a broken valve means draining the tank and swapping the valve, and an incorrectly sized valve voids the warranty. A valve that drips may be reacting to high water pressure or thermal expansion, so a pro may need to address pressure or add an expansion tank before touching the valve. Large, sporadic discharge of hot water is attributed to a malfunctioning thermostat.
Gas leaks at a valve's threaded connection are fixed by removing the valve and reapplying joint compound, which is gas work. Anyone uneasy around gas or electricity should bring in a professional, and the manufacturer says the same if you lack confidence in fixing the leak. For a gas tankless unit, note that the CPSC recalled a brand of gas tankless heaters on October 16, 2025 because exhaust ducts can crack and pose a carbon monoxide hazard, so check recalls for your model.
What to tell the pro
A clear description saves time and helps the pro bring the right parts. Have these details ready:
- Where the water appeared: top, side, drain valve or base.
- Whether the T&P valve or its discharge pipe was wet, and whether the discharge was a drip or a large burst of hot water.
- Whether the heater runs on gas or electricity, and that you shut off power or gas and the water before looking.
- What you tried, such as closing the drain valve or gently snugging a fitting, and whether it helped.
- The temperature setting, and whether the water was warm when you noticed the puddle (which can help separate condensation from a leak).
- How old the heater is, if you know, since age affects repair versus replace.
To find a licensed plumber in your state, use the Find a Pro search on this site, where each listing links to the state's own license lookup.
Keep it from happening again
Per the manufacturer, you should look over the T&P valve once a year, and a professional should check it every 5 years. Keep the temperature at 120°F, and if the valve keeps dripping, ask about water pressure and an expansion tank before replacing anything.
Quick answers
Can I fix a leaking water heater myself?
Only some leaks. Loose water fittings and a drain valve can sometimes be snugged or closed, but tank, T&P valve and gas connection leaks need a licensed pro.
What does a leak at the bottom of a water heater mean?
A leak at the base often points to a serious problem such as a corroded tank, and replacement is usually more practical than repair. Check first that it isn't condensation or the drain valve.
What should I do first when I find water around the heater?
Turn off the power or gas to the heater, then shut off the water, before you inspect anything.
Sources
- Why Is My Water Heater Leaking? | A.O. Smith
- Technical Bulletins - Bulletin #52 Leaking Temperature and Pressure Relief Valve | A. O. Smith
- Technical Bulletins - Bulletin #51 Puddle On The Floor | A. O. Smith
- Water Heater Maintenance Guide | A. O. Smith
- Home Energy Checklist | Department of Energy
- Childproofing Your Home - Several Safety Devices to Help Protect Your Children from Home Hazards | CPSC.gov
- VESTA.DS Recalls VST Brand Tankless Water Heaters Due to Carbon Monoxide (CO) Poisoning Hazard and Risk of Serious Injury and Death | CPSC.gov